

Last updated: 1 October 2026

Arrakis is big, hostile, and constantly shifting. Between your starting zone, two social hubs, a deadly endgame region, and a handful of hidden landmarks that only open up for specific missions, it is easy to lose track of where everything actually is. This Dune: Awakening map guide breaks down every major region and landmark in one place, with quick-reference tables, what each location is actually for, and how to get around Arrakis efficiently.
Before diving deeper, if you still haven’t bought Dune: Awakening yet or are still deciding, check out Driffle to buy Dune: Awakening at the best price. Driffle is the best and most trustworthy platform to buy gaming keys.
Quick Reference: Every Location at a Glance
| Location | Type | Danger Level | What It’s Known For |
| Hagga Basin | Starting region | Low to Medium | Base building, early resources, story progress |
| Arrakeen | Social hub | Safe | Banking, cosmetics, travel, Atreides-aligned trade |
| Harko Village | Social hub | Safe | Harkonnen trade, vendors, roleplay |
| The Deep Desert | Endgame region | Very High | Spice, sandworms, PvPvE, weekly Coriolis storms |
| Blushing Cavern | Minor Landmark | Medium | Erythrite Crystal farming, bandit camps |
| Wreck of the Tyche | Minor Landmark | High | Irradiated shipwreck, radiation hazard |
| Smuggler’s Run | Minor Landmark | Medium | Vehicle-focused missions, tight driving routes |
| The Ruins of Tsimpo | Minor Landmark | Medium | Haunted village, story lore, war history |
| Wind Pass | Minor Landmark | Medium to High | Vertical exploration, Water Shipper outpost |
| The Broodworks | Minor Landmark | High | Sandfly stronghold, dense loot, fortified raid |
| The Overland Map | Travel system | Safe | Fast travel between all major regions |
Minor Landmarks are only accessible while you have an active Landsraad Mission tied to that specific location, so you cannot simply fly in and explore them whenever you like.
Hagga Basin: Your Starting Region
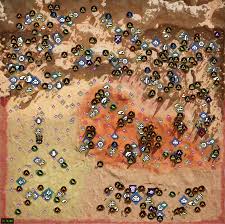
Hagga Basin is where every player begins. It is a massive zone, roughly 8,140 meters tall and 8,073 meters wide, covering an estimated 65 square kilometers. Each player explores their own instanced version, shared with up to around 40 to 60 other players at a time.
Hagga Basin Subregions and Resources
| Subregion | Location | Best For |
| Hagga Basin South | South-central | Copper Ore, Salvaged Metal, Plant Fiber |
| Hagga Rift | Northwest | Erythrite Crystals |
| Jabal Eifrit (three zones) | Spread across the basin | Mixed resources, varied terrain |
| Sheol | Central | Story and exploration content |
| Mysa Tarill | Varies | Story and exploration content |
| The O’odham | Varies | Story and exploration content |
| Eastern and Western Vermillius Gap | Basin edges | Transition zones toward the shield walls |
| Eastern and Western Shield Wall | Basin borders | Elevated terrain, access points to landmarks |
Hagga Basin is where you will spend most of your early and mid-game. It is where you build your first base, gather starting materials, and work through the opening chapters of the story.
New to the game? Our Dune: Awakening beginner’s guide covers exactly what to prioritise in your first few hours, from water management to your first base location.
Arrakeen and Harko Village: The Two Social Hubs
Once you are ready to leave Hagga Basin behind for a while, Arrakeen and Harko Village are your two main hubs, and choosing between them shapes part of your early game.
Arrakeen
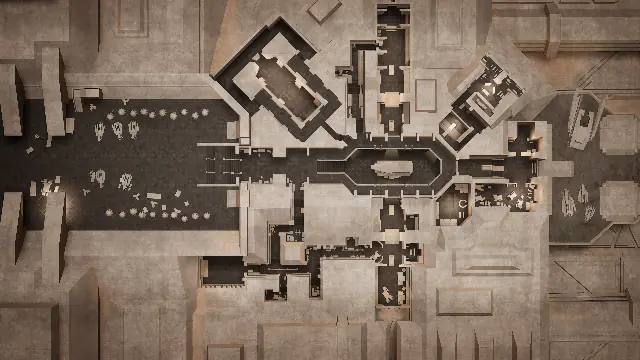
Arrakeen is the most developed city in the Dune universe. It offers:
- Banking and Solari management
- Cosmetic vendors and customisation
- Travel terminals for fast Overland Map access
- Contracts and Atreides-aligned trade opportunities
Harko Village
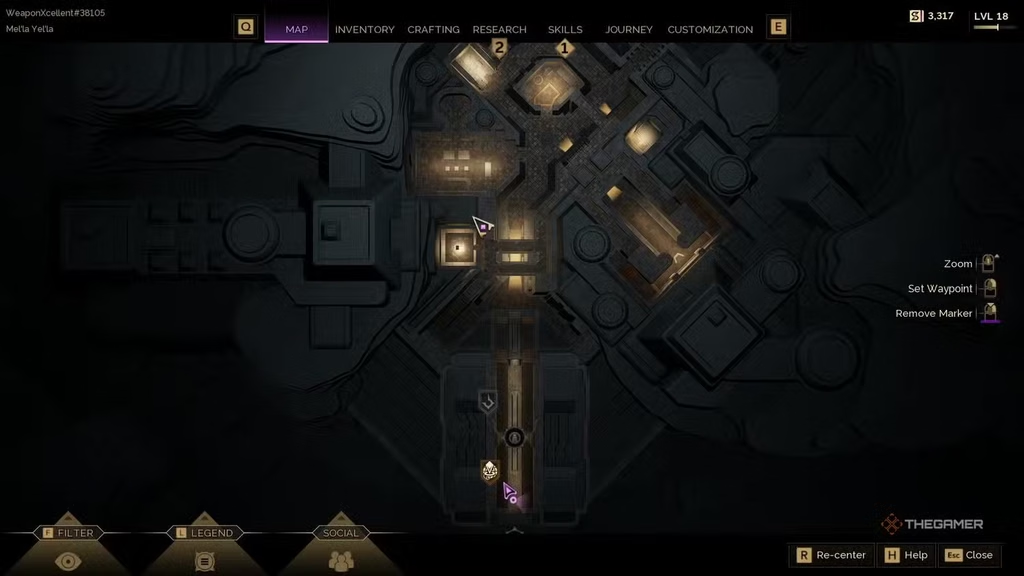
Harko Village is the Harkonnen equivalent, with its own identity:
- Harkonnen-specific vendors and pricing
- Faction questlines tied to House Harkonnen
- A distinct roleplay and trading scene
- Its own set of Exchange and social features
Neither hub is objectively better. Your choice mostly comes down to which faction storyline and vendor relationships interest you more. Both are reachable through Ornithopter fast travel or paid shuttles, and the Overland Map makes getting between them far quicker than flying manually.
The Deep Desert: Arrakis’s Deadliest Region
The Deep Desert is the most dangerous area in the game, and also one of the most rewarding. Here is what makes it different from everywhere else on this list:
- Spice-rich: Spiceblows scattered across the region produce valuable Spice, the game’s most sought-after resource
- Sandworm territory: Multiple sandworms patrol the open sand, making careless travel genuinely risky
- Large-scale PvPvE: Each shared instance supports up to 100 or more players at once, and combat with other players is a real possibility
- Weekly Coriolis storms: These storms physically reshape the region every week, wiping old layouts and revealing new locations, dangers, and rewards
Since Update 1.5, single-player mode also has its own version of the Deep Desert, one that does not reset the way the multiplayer version does, giving solo players a stable space to explore without the weekly upheaval.
Planning to team up before heading in? Our Dune: Awakening multiplayer and co-op guide covers parties, guilds, and how PvP actually works in this region.
Minor Landmarks: Arrakis’s Hidden Locations
These six locations do not show up on the map the way Hagga Basin or Arrakeen do. Each one is a Minor Landmark, meaning it only becomes accessible while you have an active Landsraad Mission tied to that specific place.
| Landmark | Description | Notable Detail |
| Blushing Cavern | A small rock island with bandit camps atop a large Erythrite cave | Strong spot for Erythrite Crystal farming once unlocked |
| Wreck of the Tyche | An irradiated shipwreck crashed inside the shield wall | Radiation hazard, so bring proper protection |
| Smuggler’s Run | A small rock island with a tight, challenging vehicle road | Best suited to vehicle-focused Landsraad missions |
| The Ruins of Tsimpo | A box canyon village destroyed during the War of Assassins | Considered haunted by locals, rich in story lore |
| Wind Pass | A windswept canyon outpost, once Harkonnen, now run by Water Shippers | Vertical terrain, best explored with a Suspensor Belt and Shigawire Claw |
| The Broodworks | A large, fortified bandit stronghold on the Shield Wall | Home to the Sandflies faction, over 1,000 points of interest |
The Story Behind the Ruins of Tsimpo
This one is worth knowing before you go in. Tsimpo was a village that tried to stay neutral during the War of Assassins by keeping friendly relations with House Harkonnen. A pro-Atreides faction within the village invited Atreides forces in for protection instead. When the Harkonnens returned, the village submitted once again, but was razed with artillery fire anyway as punishment for the betrayal. Locals still consider the ruins haunted, and players exploring it have reported strange happenings ever since.
Getting Around Wind Pass and Tsimpo More Easily
A recent quality-of-life update removed sun exposure hazards from both the Ruins of Tsimpo and Wind Pass. That means no more heatstroke risk or excess stillsuit water loss while exploring their interiors, so you and your squad can focus purely on combat and looting instead of managing hydration mid-mission.
The Overland Map: How Fast Travel Actually Works
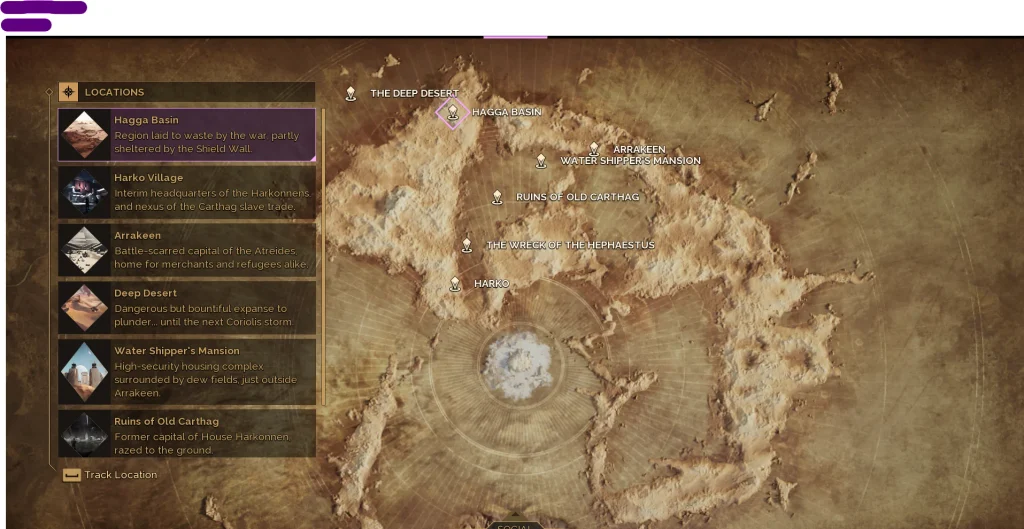
The Overland Map is not a region of its own. It is the system that connects everything else.
How to access it:
- Fly your Ornithopter to the edge of Hagga Basin
- Look for the shimmering blue wall marking the border
- Confirm your exit to switch to the top-down Overland Map view
- Select Arrakeen, Harko Village, the Deep Desert, or any unlocked Minor Landmark
Useful things to know:
- Fuel and hydration mechanics do not apply while using the Overland Map
- Ornithopter pilots accept Solari from either your inventory or your in-game bank
- You can use the Overland Map to skip across sections of Hagga Basin itself, re-entering at a different point instead of flying the long way manually
- This is generally faster and safer than flying point to point on the ground map, especially through hostile territory
Tips for Navigating Arrakis Efficiently
- Unlock landmarks through Landsraad Missions early: If you see a Minor Landmark on the map you cannot enter, check the Landsraad Mission board rather than assuming it is bugged.
- Use the Overland Map liberally: It removes fuel and hydration costs entirely, so there is rarely a reason not to use it for longer trips.
- Pick a home hub and stick with it for a while: Bouncing between Arrakeen and Harko Village early on slows down faction-specific progress.
- Track the weekly Coriolis storm: If you are pushing into the Deep Desert, knowing when the storm reshapes the region helps you plan farming runs before your current map knowledge goes stale.
- Bring mobility gear to vertical landmarks: Wind Pass in particular rewards a fully upgraded Suspensor Belt and the Shigawire Claw skill.
Whether you are farming Erythrite in Blushing Cavern, raiding the Broodworks, or riding out a Coriolis storm in the Deep Desert, knowing the map ahead of time makes every trip across Arrakis smoother and safer. Head over to Driffle to buy Dune: Awakening at the best price, with fast digital delivery so you can start exploring every region covered here for yourself. That’s all for this blog. Do let us know the challenges that you are facing while exploring the desert. In this way, we can guide you through your journey.
Frequently Asked Questions
Q.1. How big is the Dune: Awakening map?
Answer: Hagga Basin alone covers an estimated 65 square kilometers, and that is before accounting for Arrakeen, Harko Village, the Deep Desert, and the various Minor Landmarks reachable through the Overland Map.
Q.1. What is the fastest way to travel around Arrakis?
Answer: The Overland Map, accessed by flying your Ornithopter to the edge of Hagga Basin. It skips the fuel and hydration mechanics that apply during normal flight and gets you to major hubs and landmarks much faster than flying manually.
Q.2. Why can’t I access locations like Wind Pass or the Ruins of Tsimpo?
Answer: These are Minor Landmarks. They only become accessible while you have an active Landsraad Mission tied to that specific location.
Q.3. Does the Deep Desert map change?
Answer: Yes, on official multiplayer servers. Weekly Coriolis storms reshape the Deep Desert, changing what is discoverable each week. The single-player Deep Desert added in Update 1.5 does not reset in the same way.
Q.4. Should I go to Arrakeen or Harko Village first?
Answer: It depends on your faction leanings. Arrakeen leans Atreides-aligned with its own vendors and questlines, while Harko Village serves the same role for House Harkonnen. Neither is objectively better, so pick based on which storyline interests you more.
Q.5. Do I need a group to explore the Minor Landmarks?
Answer: Not always, but some, like the Broodworks and the Wreck of the Tyche, are fortified or hazardous enough that a group makes the mission considerably safer.


